With more than one server installed on a machine, the most common problem is the same HTTP port 8080 being used in all the default server configurations. In this blog I’ll demonstrate how to change default HTTP port number in Wildfly (formerly known as the JBoss Application Server). You can follow my blog about How to install Wildfly in Eclipse in case you need to do a fresh installation.
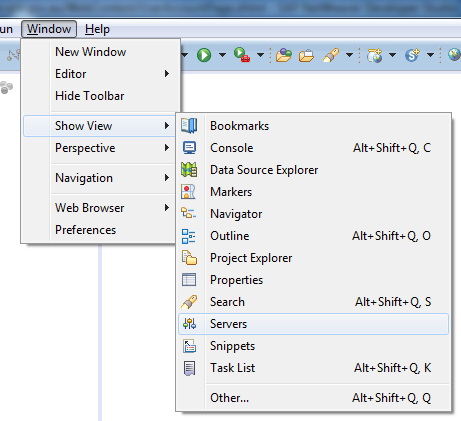
Open the Servers view
Open Eclipse and go to the menu option, Window -> Show View -> Servers
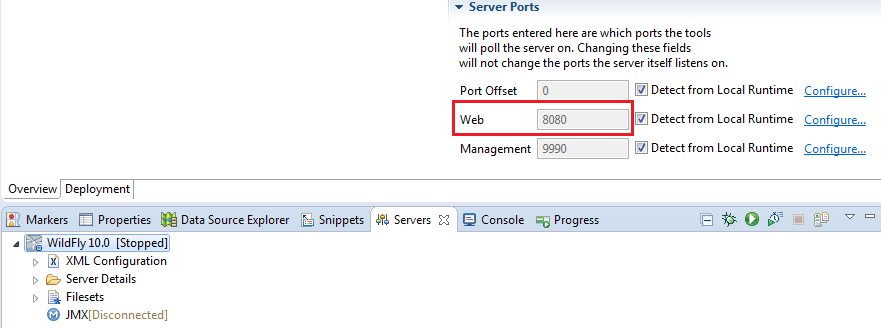
Check existing HTTP port number
Double click on the Wildfly server installation in the Servers view and check the default HTTP port number. It is 8080 in my installation.
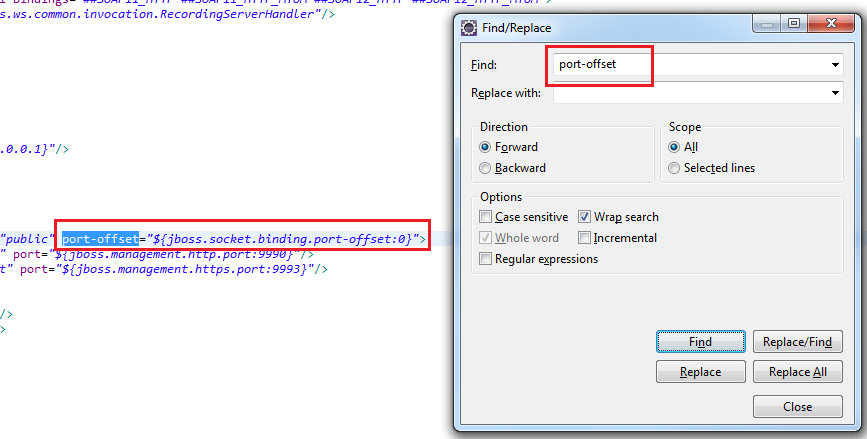
Modify standalone.xml
Make sure that the server is stopped. In the Servers view, drill down to Port Offset and double click on the node to open the standalone.xml file.

Search for the term port-offset within the file. By default, the offset value is 0. Which means you access all the default ports listed in the file.
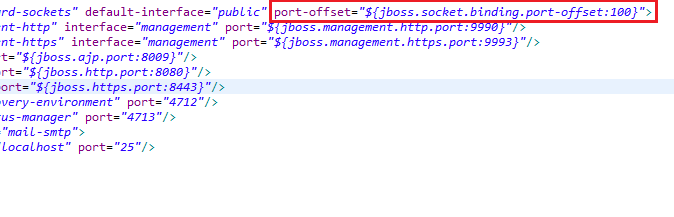
Enter an offset value say, 100 and save it. So from now, the HTTP port will be 8080 + 100 = 8180. The same logic would be applied to all other ports listed in the file. For example, the server management port number will become 9990 + 100 = 10090.
Restart the server and check the new port
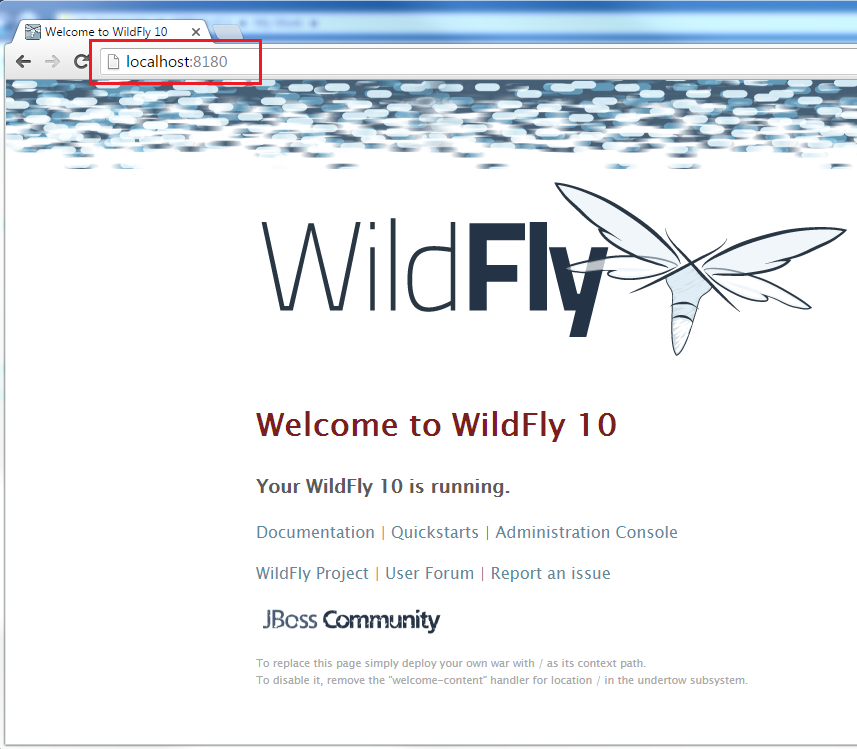
Open browser and navigate to the new HTTP port http://localhost:8180/
I hope that was useful. See you in the next blog!
Awesome! Thanks!
thank you
thanks for result