If you are using Eclipse on your office systems, you need to maintain the proxy server details in Eclipse. Otherwise, when you try to update/install plugins from the Internet, the process will timeout and throw an error.

This blog describes how to add proxy settings in Eclipse.
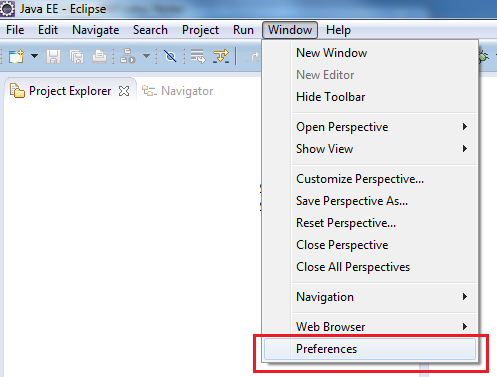
Step 1
Open Eclipse and go to Window-> Preferences
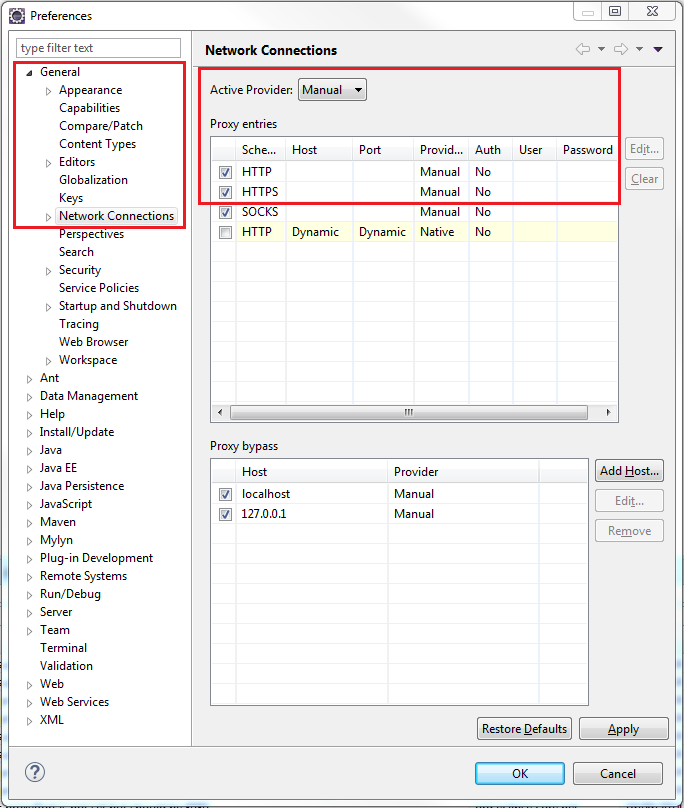
Step 2
Go to General -> Network Connections and select Manual from the drop-down called Active Provider. Select HTTP as the schema in the table below and click on the Edit button.
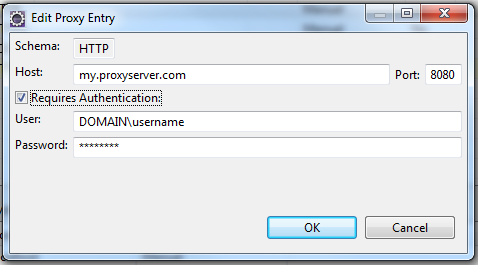
In the pop-up window, enter the proxy server host name, and proxy server port number. If the proxy server requires some authentication for your user (which it would in most cases), check the Requires Authentication checkbox and enter your user name (Domain name might need to be specified in some cases) and the password. These are usually your login details for Windows (or whatever system you use). Similarly enter the proxy details for HTTPS schema too.
Do not configure anything for the SOCKS schema.
Click OK and click on Apply to save the changes. It is good idea to restart Eclipse after saving the proxy settings. Otherwise the changes might not be effective in the current session of Eclipse.